Ground Up B16A Build

Collapse
X
 
  • Time
  • Show
Clear All
new posts
  • cpl rampage
    Member
    • May 2009
    • 253

    Ground Up B16A Build

    So I picked this engine up in a semi dis-assembled state, they were beginning the tear down to replace the rings. They ended up not having the time/money for it so i bought it. I tore it down the rest of the way, and honestly this engine looked alright, bearings looked good, although the oil was a little bit dark.

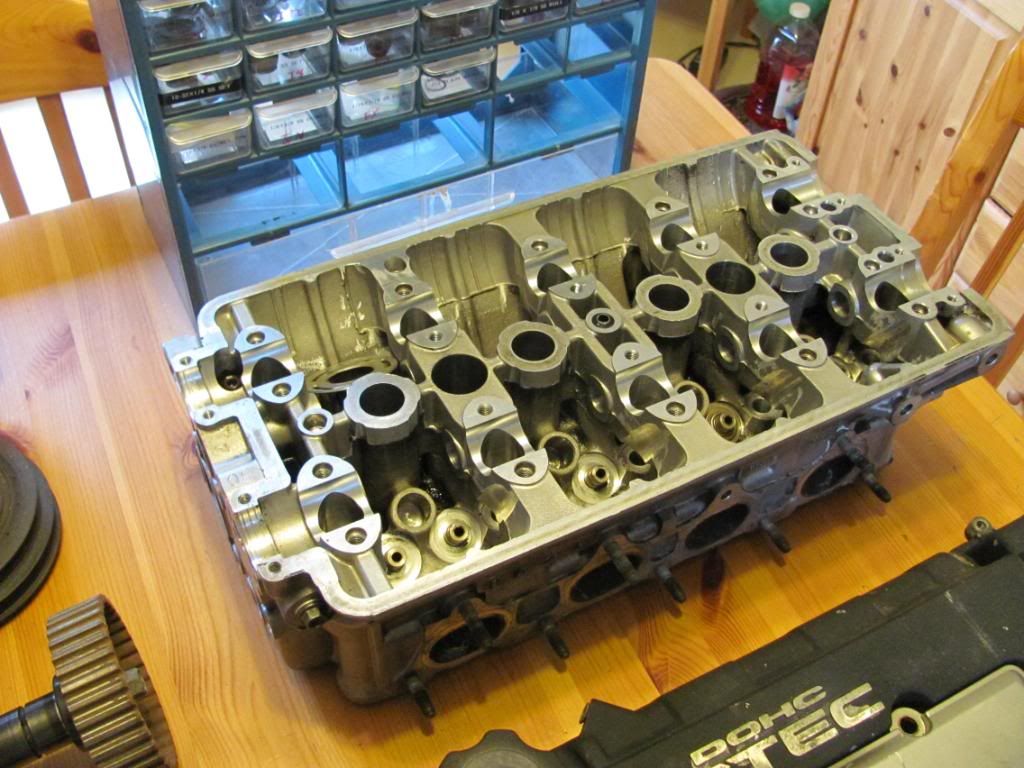
    At this point every part has been scrubbed and degreased, from the oil pan all the way up to the valve springs and retainers. The only thing that hasn't been fully cleaned is the exterior of the block. After it is all said and done, the bores looked great, no scuffs, same with the pistons. The cams and rockers didn't look wiped out at all. Here is a shot of all the big parts laid out:


    Head all stripped and cleaned:


    And the valve train:


    I bought it thinking that it might go into my car one day, but most of you have probably seen my stolen and for sale threads. Since I don't have a car to put this into any more, but I enjoy building engines I figured I would build this up and post some pictures of the process along the way. My plans are to keep it stock, replacing all the bearings, rings, water pump, timing belt, all the gaskets. And anything else I find along the way that needs to be replaced. It will be for sale in the end, if you are interested in having me build it up to your specs let me know and maybe we can work something out. Please do not ask for me to part this out if you want the head etc, and please keep all sale talk out of this thread, lets keep this a technical thread. I will be happy to answer any questions you have about my build process!
    2005 Chevy Silverado 1500 Crew Cab "Tow Rig"
    1986 Toyota MR2 Space Shuttle Hooptie>>>http://nemotorsport.com/boards/showthread.php?t=13911
  • Boosted Euro
    Admin
    • Oct 2006
    • 27801

    #2
    I already like this thread as the first post has more pictures then half the others haven in 3 pages...lol
    You ain't got no chance to beat it..like a man with no hands and a one inccchhhh .

    04 Forester XTI - Built Motor (weisco,eagle,sti,arp) FP Green Hta 330whp
    83 Rabbit GTI - Scrapped, Heart lives on in the 82
    82 Rabbit Diesel L custom - full GTI swap , built head lots of Poly
    90 Corrado G60 - First Love , awaiting winning lottery #'s

    Anti-Speedbump Society

    Comment

    • cpl rampage
      Member
      • May 2009
      • 253

      #3
      Haha, I suppose that is a good thing, at least for me. I forgot my micrometers at my apt, I am picking them up on Wednesday, and I should have some more pictures and a little guide about how to use micrometers and telescoping bore gauges to size bearings. Deff useful for the Honda guys but hopefully useful for the inferior makes too... jk jk.
      2005 Chevy Silverado 1500 Crew Cab "Tow Rig"
      1986 Toyota MR2 Space Shuttle Hooptie>>>http://nemotorsport.com/boards/showthread.php?t=13911

      Comment

      • jst_4_kiks
        CB4LYFE
        • Apr 2008
        • 2678

        #4
        Love the sight of a bunch of engine parts layed out on the dinner table. My wife would kill me if I did that. Id still do it anyways though, but put a towel/blanket down first.

        Anyways, looks like a good build project. What are hp/tq numbers on a b16 stock? Be a good drop in replacement for a civic.

        Steve (kidcrash), this is for you man. Throw it under the hood of the hatchy or better yet put it in the ol school accord.
        Kyle C.

        2002 Accord EX Sedan - Comfy daily status

        1991 Accord LX Wagon - 304K with a slipping transmission


        Steven J. Samson, May 18, 1959-Dec. 28, 2009 RIP Good Friend
        Dorothy Trudeau, May 2, 1923-Jan. 14, 2010 Love You Gramma

        Comment

        • cpl rampage
          Member
          • May 2009
          • 253

          #5
          Originally posted by jst_4_kiks
          Love the sight of a bunch of engine parts layed out on the dinner table. My wife would kill me if I did that. Id still do it anyways though, but put a towel/blanket down first.

          Anyways, looks like a good build project. What are hp/tq numbers on a b16 stock? Be a good drop in replacement for a civic.

          Steve (kidcrash), this is for you man. Throw it under the hood of the hatchy or better yet put it in the ol school accord.
          Haha yeah this is at my parents house (my gf would freak if I brought all this to our apt, my mom would also freak if she saw this, but they are clean and oil free, so what she doesn't know doesn't hurt her lol).

          Steve already PM'd me about this haha!

          the stock number on this are 180 HP @ 7,800 rpm and 116 ft·lbf @ 7,300 rpm, with a red line of 8200. my friend has one in his civic, responded pretty well to a good header and intake, and i swear it has the loudest vtec cross over ever.
          2005 Chevy Silverado 1500 Crew Cab "Tow Rig"
          1986 Toyota MR2 Space Shuttle Hooptie>>>http://nemotorsport.com/boards/showthread.php?t=13911

          Comment

          • Boosted Euro
            Admin
            • Oct 2006
            • 27801

            #6
            Needs a port polish and massive cam for Steve .
            You ain't got no chance to beat it..like a man with no hands and a one inccchhhh .

            04 Forester XTI - Built Motor (weisco,eagle,sti,arp) FP Green Hta 330whp
            83 Rabbit GTI - Scrapped, Heart lives on in the 82
            82 Rabbit Diesel L custom - full GTI swap , built head lots of Poly
            90 Corrado G60 - First Love , awaiting winning lottery #'s

            Anti-Speedbump Society

            Comment

            • kidcrash603
              Patron
              • Sep 2009
              • 3182

              #7
              Yeah, timing and money won't work out for me on this one. I'll stumble across something in the future I'm sure.
              Steve - Somersworth, NH
              2004 Chrysler Pacifica AWD
              "The Dad Van"

              Comment

              • kidcrash603
                Patron
                • Sep 2009
                • 3182

                #8
                Actually.... Got any interest in rebuilding my CVCC engine from the '76?
                Steve - Somersworth, NH
                2004 Chrysler Pacifica AWD
                "The Dad Van"

                Comment

                • cpl rampage
                  Member
                  • May 2009
                  • 253

                  #9
                  Ive never done something that old, but i am def interested, i would have to look and see what it involves, technology back then was a lot different (like pressed together crank shafts with ball bearings) not to mention I dont really know where to find the clearance specs and tq numbers. Ill take a look tho, I enjoy a challenge.

                  EDIT: I am surprised there is a haynes manual for this car lol
                  2005 Chevy Silverado 1500 Crew Cab "Tow Rig"
                  1986 Toyota MR2 Space Shuttle Hooptie>>>http://nemotorsport.com/boards/showthread.php?t=13911

                  Comment

                  • Th3Juggernaut
                    殺意の波動
                    • Jul 2009
                    • 8305

                    #10
                    sweet deal man, GL with it
                    Now they will know why they are afraid of the dark. Now they will learn why they fear the night.

                    Comment

                    • cpl rampage
                      Member
                      • May 2009
                      • 253

                      #11
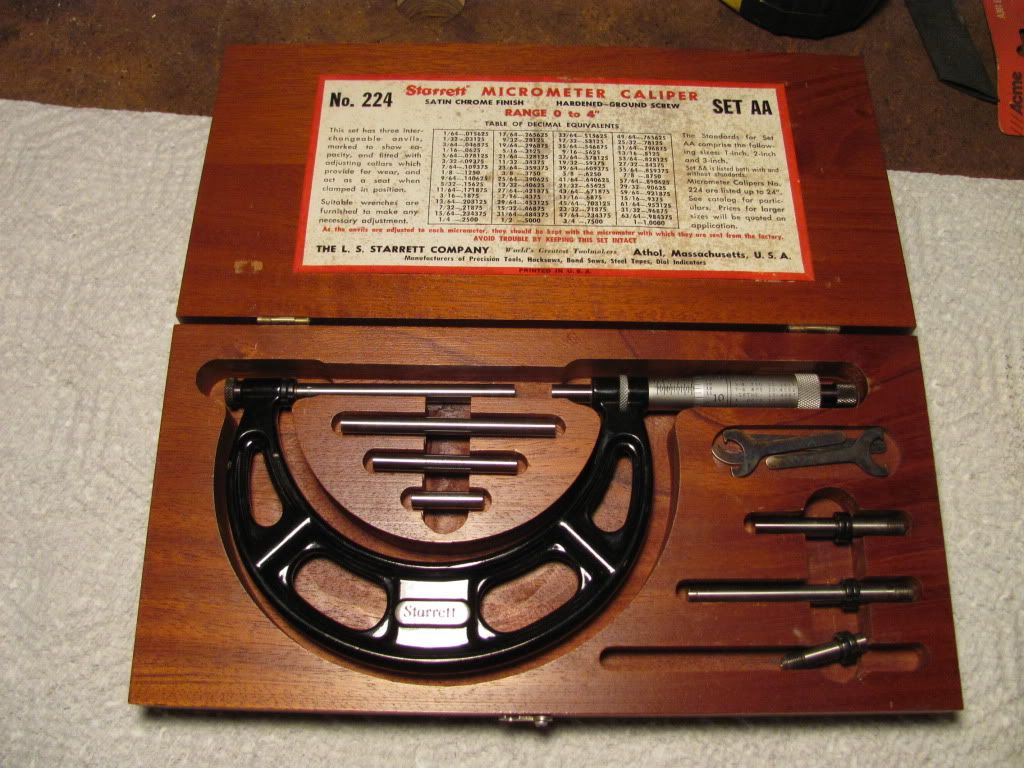
                      I was able to pick up my micrometer last night, and I had some time today to start measuring everything up, ENJOY!

                      Bearing Sizing Part 1

                      So the goal of part 1 is to determine the outer diameter (OD) of the crankshaft journals. We also want to check for Out-of-Round, and bearing taper.

                      What you need:
                      Good lighted work bench free of dust
                      Crankshaft (cleaned and free of oil etc)
                      Micrometer set with a minimum range of 1.7-2.1 (for B series, others may be different)
                      Lint Free wipe cloth (microfiber cloth or Kim wipes etc.)
                      Pen and Paper or if you are a boss like me, excel :P

                      Step 1: Setting up and zeroing your micrometer

                      With your Micrometer in hand, you will first want to make sure you have the correct sized anvil for the bearing you are measuring (if yours is swappable).


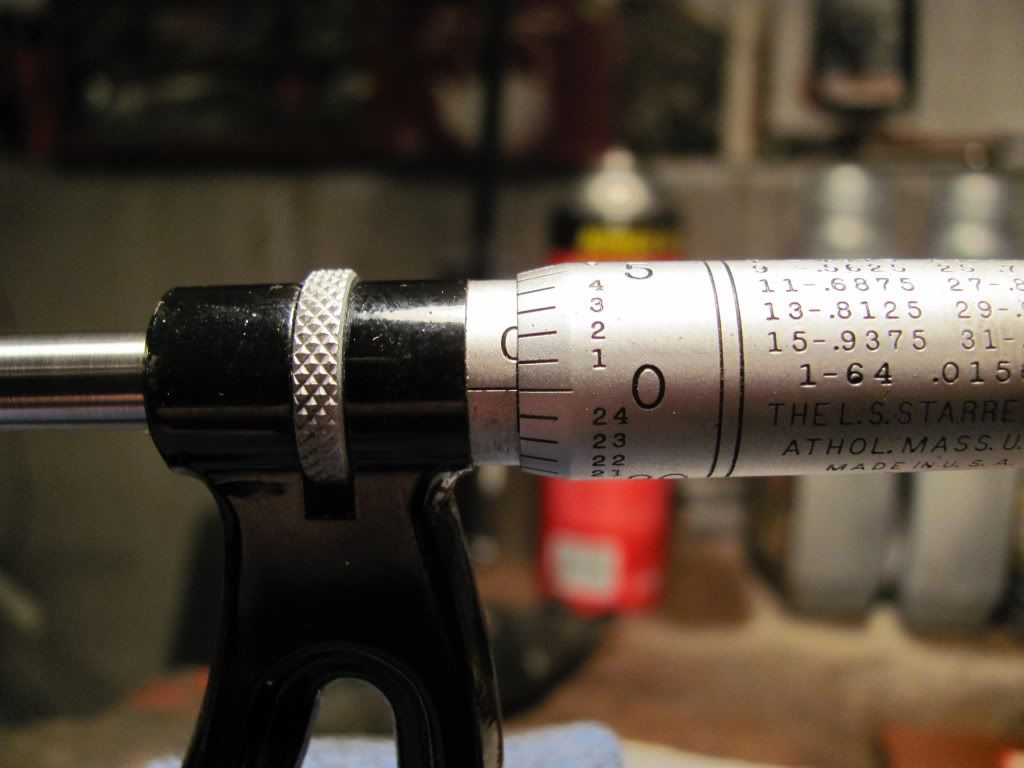
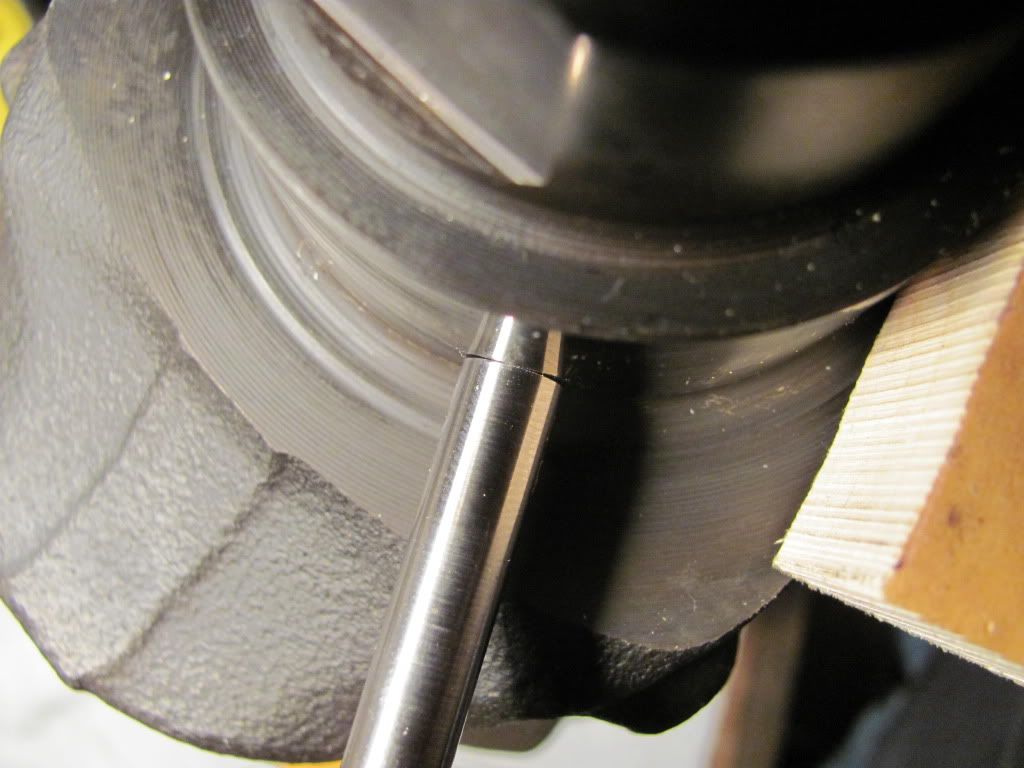
                      Next, use a rag to clamp it lightly in a vise. We are going to to check to make sure the micrometer is zeroed correctly. Using a calibrated pin that is usually provided with the micrometer, we check to make sure it actually reads zero when you use measure the pin.


                      Before measuring ANYTHING make sure you wipe both the ends of the micrometer, and both ends of the pin with the lint free cloth. Here is the pin in the tool, and a close up of the zeroed gauge. If your gauge does not zero, adjust the locking collars with the mini spanner wrenches.


                      It is really critical to get this zeroed correctly, otherwise you might end up ordering the wrong bearings.


                      Step 2: Measuring the main journals

                      Now here comes the fun part, measuring the main journals. Here is the Micrometer on the first Main journal:


                      There are a few important things to remember while making any measurement with micrometers:
                      1.) ALWAYS wipe the micrometer tips and the journal you are measuring with a lint free cloth. You do not want any grit throwing off your measurements
                      2.) With the crank standing on end, you need to make sure that that the micrometer is perpendicular to the journal surface. You can guarantee this by rocking the micrometer up and down as you slowly tighten the thumb screw. Once it stops it should be clamped on perpendicular
                      3.) You need to make sure you are centered on the journal, you can check this by making sure the gaps on the edges of the anvil are approximately equal. See the picture below.


                      To get used to measuring, make sure you test your skills on the same spot a few times to make sure you can make a consistent measurement.
                      Moving on after getting your technique down, there are 4 measurements you should be making on each journal.

                      To begin, with the crank on end, you need to measure along the lower edge of the journal. Write this value down, and then move on to the next measurement location. This would be a spot on the upper edge of the journal surface, directly above you last measurement. After measuring this, record it as well.

                      While making these measurements, make sure you are on the actual bearing surface, and not any lips etc on the very edges. The reasoning for these two measurements one on top of the other is to check for bearing taper. Taper is not too common, but it is worth checking while you have the crank in front of you.

                      The next area of measurement should be approximately 90 degrees away from the first area. Again, make two measurements, one on the top edge, and one on the lower edge, and record. With these 4 numbers in hand, you can check for bearing taper, as well as out-of-round. You should compare these numbers to the service limits found in the service manual. If everything checks out, you can record the largest measurement as your crank journal size.

                      Step 3:
                      Repeat for the other 4 main journals; don’t forget to wipe everything from journal to journal with the lint free cloth.

                      Step 4:
                      Measure the rod journals. You may need to swap the anvil of your micrometer to measure the smaller diameter journals. If so, make sure to re-check the zero. Follow the same procedure as before, and don’t forget to go back and check your work every so often, correct measurements are critical!

                      So now you are done, you should have 5 main journal measurements, and 4 rod journal measurements. If you found that your crank was out if spec in any of the three measurements (nominal diameter, out of round, and taper) you might be able to have it ground and polished by a machine shop and use a larger bearing in the end.

                      What do you do with all of these measurements you ask? NOTHING! Atleast until I post the next part of bearing sizing anyways.
                      2005 Chevy Silverado 1500 Crew Cab "Tow Rig"
                      1986 Toyota MR2 Space Shuttle Hooptie>>>http://nemotorsport.com/boards/showthread.php?t=13911

                      Comment

                      • cpl rampage
                        Member
                        • May 2009
                        • 253

                        #12
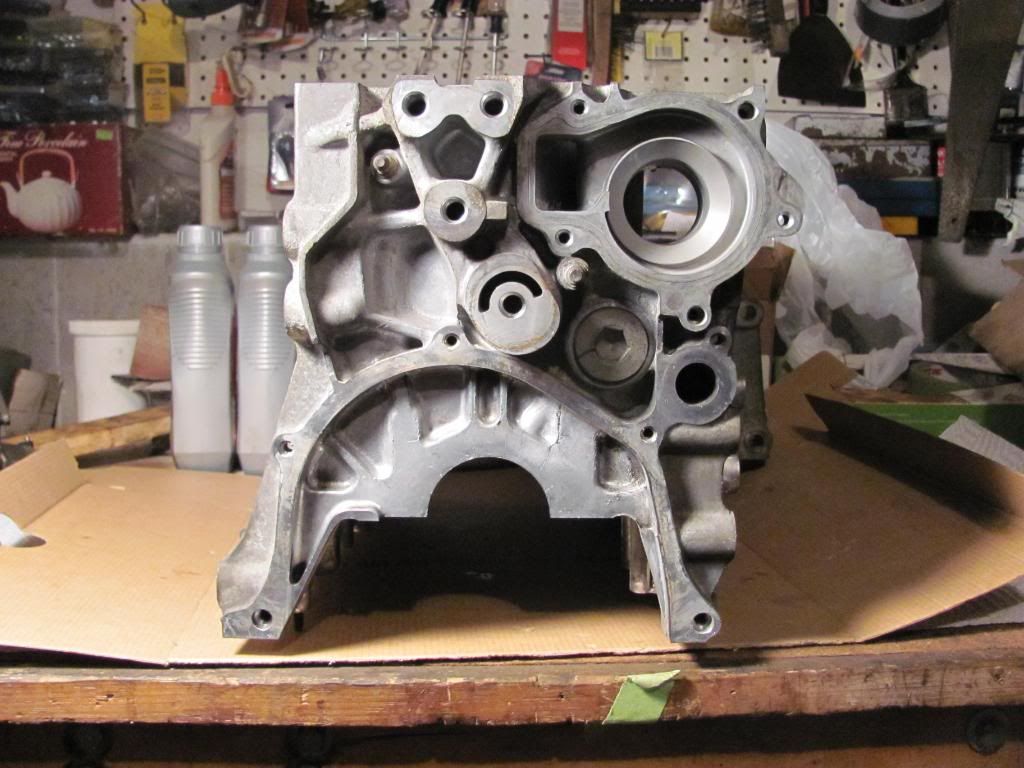
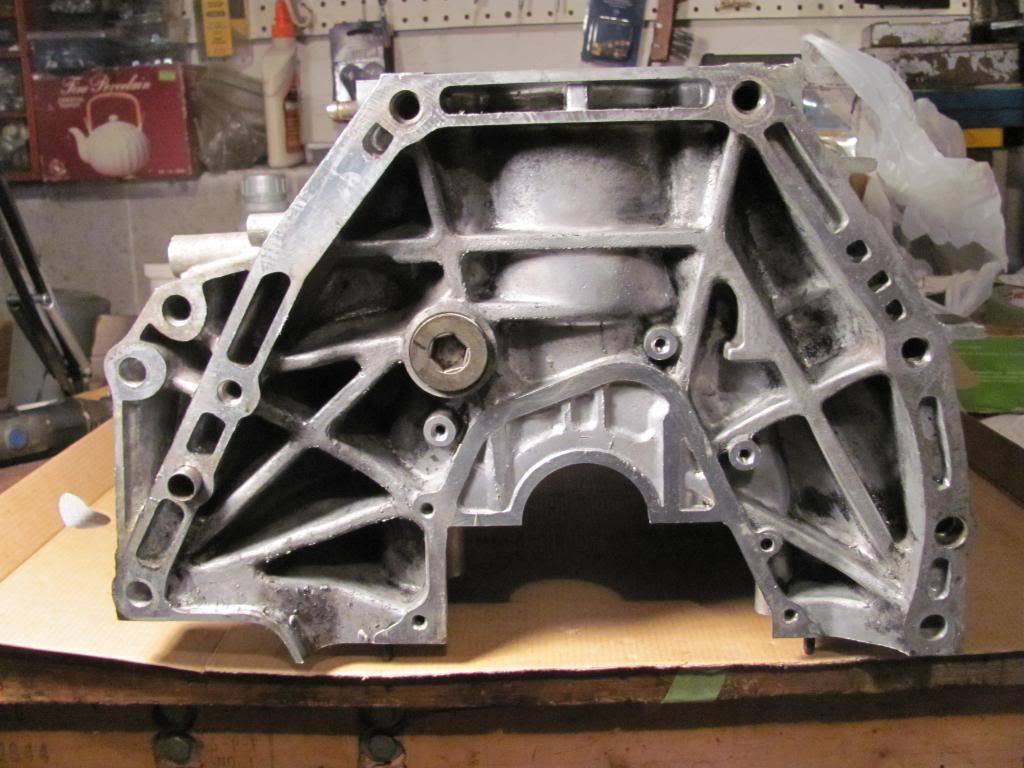
                        So after a few days, and a combination of Engine Degreaser, Simple green and a late night trip to the do it you self car wash, I was able to get the block pretty clean. The only side that isn't totally spotless is the side that mates to the trans, that clutch dust and oil combo is on there deep.

                        Check it out! hopefully I will be able to start measuring up the block tomorrow.


                        If you attempt a heavy tear down and de-greasing like this, make sure you put either a thin coat of oil or WD40 on any of the precision steel parts like the sleeves, or main/head bolts, they WILL rust!
                        2005 Chevy Silverado 1500 Crew Cab "Tow Rig"
                        1986 Toyota MR2 Space Shuttle Hooptie>>>http://nemotorsport.com/boards/showthread.php?t=13911

                        Comment

                        • Boosted Euro
                          Admin
                          • Oct 2006
                          • 27801

                          #13
                          :Thumbs-up:
                          You ain't got no chance to beat it..like a man with no hands and a one inccchhhh .

                          04 Forester XTI - Built Motor (weisco,eagle,sti,arp) FP Green Hta 330whp
                          83 Rabbit GTI - Scrapped, Heart lives on in the 82
                          82 Rabbit Diesel L custom - full GTI swap , built head lots of Poly
                          90 Corrado G60 - First Love , awaiting winning lottery #'s

                          Anti-Speedbump Society

                          Comment

                          • cpl rampage
                            Member
                            • May 2009
                            • 253

                            #14
                            I started to bolt up the main cap to start measuring the block, I had to go back inside for something and got too used to the warmth. So I decided to do a little mini how to in my dining room lol.

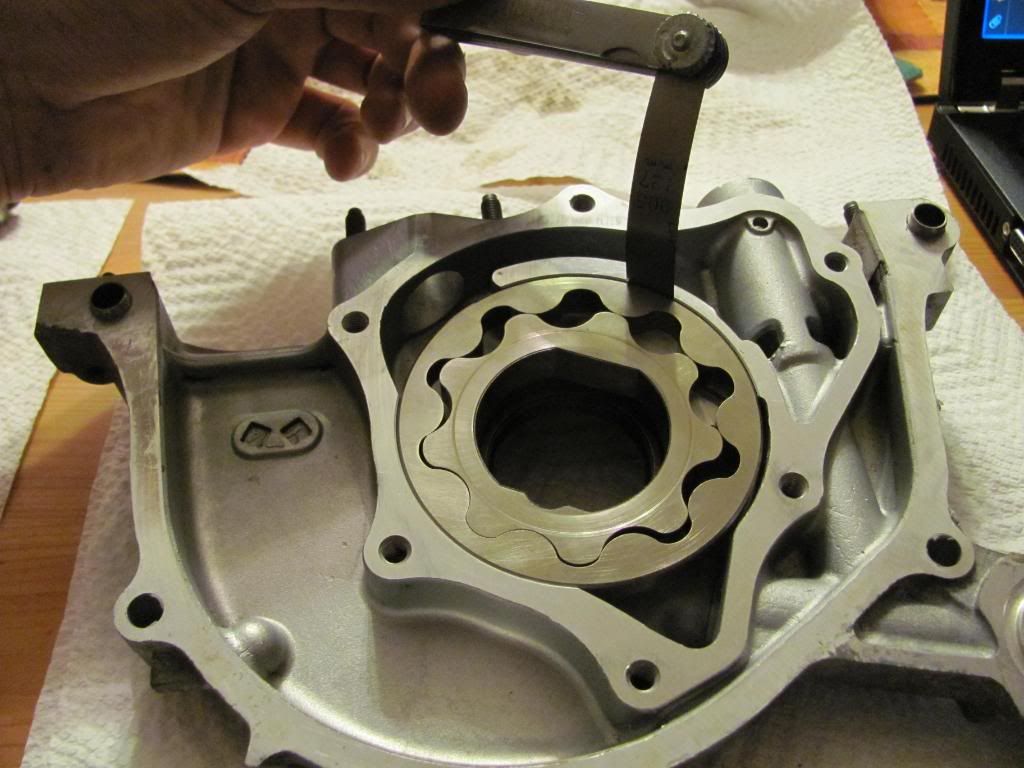
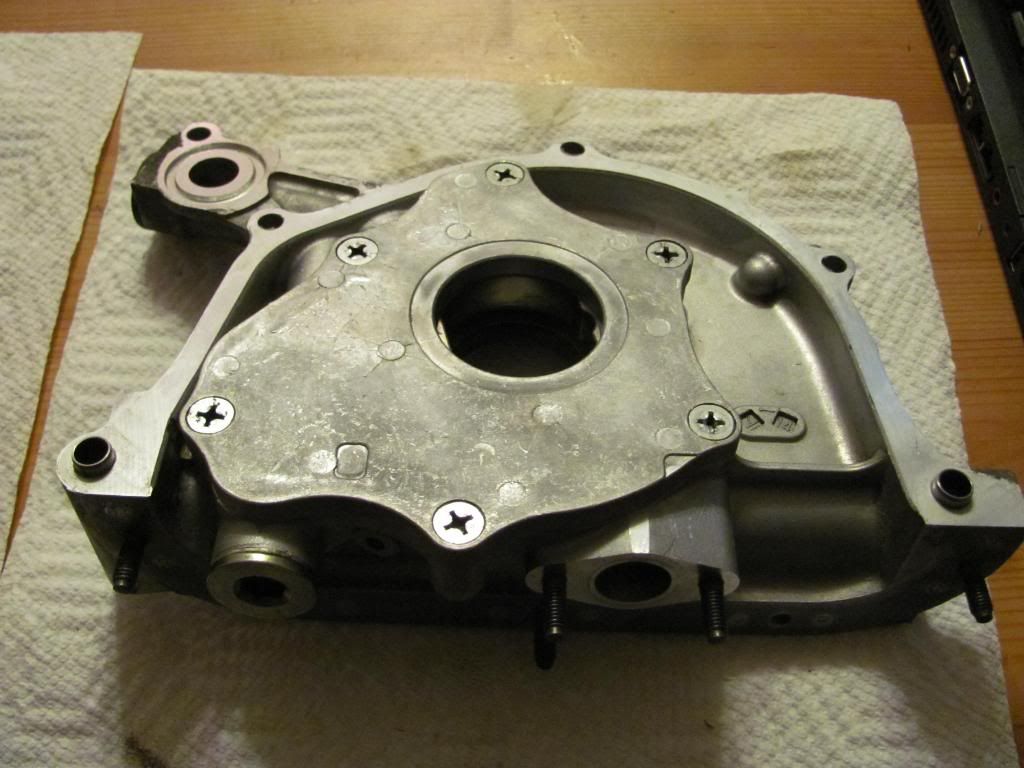
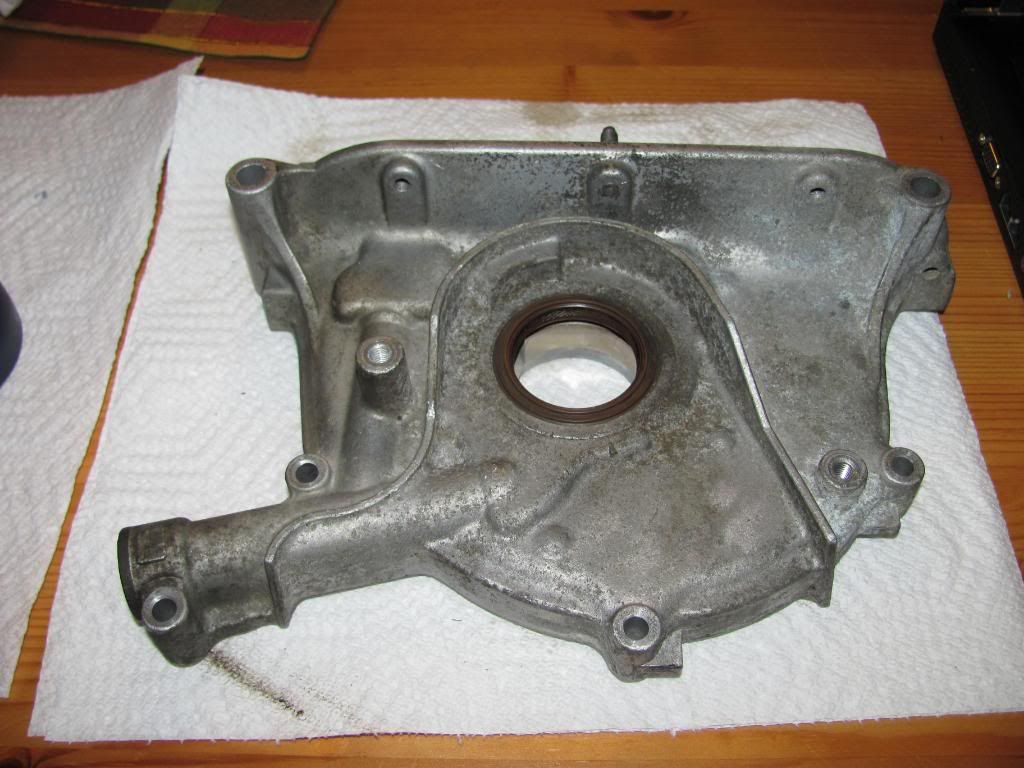
                            How to inspect and Rebuild a Honda oil pump:


                            What you need:
                            1.) Dissembled and cleaned oil pump
                            2.) Feeler gauges
                            3.) good straight edge ( I used a combination square
                            4.) Screw Driver
                            5.) Allen wrench set
                            6.) Oil
                            7.) Loc Tite
                            8.) Beer (or spiked apple cider if it Christmas)

                            Step 1: Lay out all your parts


                            Step 2: Check rotating surfaces for scoring. No pictures of this, but how hard can it be haha.

                            Step 3: Check inner rotor to outer rotor clearance:

                            Install the outer rotor, followed by the inner rotor, dry, no lube....

                            Rotate the rotors so that the tips are touching and the widest spot, see the picture below

                            This is where you can measure the gap with your feeler gauges, and compare to the service manual for your engine


                            Step 4: Check rotor to cover clearance

                            Take your straight edge and place it across the mating surface of the pump rotors

                            Using your feeler gauges, slip them in between the rotors and the straight edge, stepping up the size until you feel a slight drag.


                            Step 5: Check rotor to housing clearance

                            Pretty simple, slip your feeler gauges in between the outer rotor and the housing, until it will not fit, it may take some more force than normal to get it in between there due to the curves


                            Step 6: Final assembly

                            Pull out the rotors

                            Lubricate the pressure release plunger, insert it and chase that with the spring, washer and allen plug. Torque it down to spec

                            Lubricate the mating surfaces of the housing, as well as all surfaces of the rotors.

                            Insert the outer rotor followed by the inner rotor.

                            Put your cover back on, followed by the screws with some Loc Tite. Torque to spec.


                            Now Admire your work and drink some more beer!!!

                            2005 Chevy Silverado 1500 Crew Cab "Tow Rig"
                            1986 Toyota MR2 Space Shuttle Hooptie>>>http://nemotorsport.com/boards/showthread.php?t=13911

                            Comment

                            • MaliBoost
                              Captain
                              • Dec 2010
                              • 3921

                              #15
                              This isnt my kinda thing but +1 rep for all the hard work and for documenting every step for people who are interested
                              2002 BMW 325i

                              Comment

                              Working...